Browse to the Salesforce object to which you want to add one of our validation components, e.g. an individual Account or Contact object.
Click the Setup icon in the top right, then click Edit Page.
If a record page for this object hasn't been activated before (as indicated by a disabled "Activation…" button) click the Save button in the top right, then click Activate.
Otherwise you can begin to add the required EDQ components to your page as detailed in the following pages.
Supported EDQ components
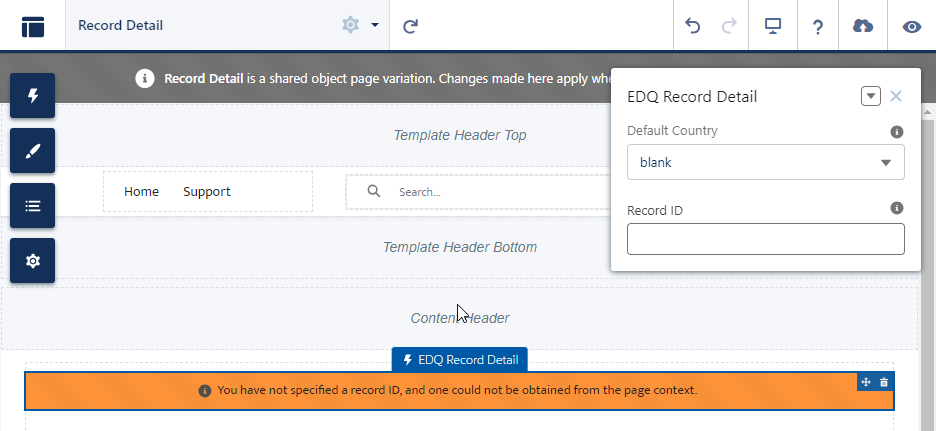
Browse to the page in Experience Builder that you wish to add the EDQ Record Detail component to.
Within the Components panel on the left is a section called Custom Components.
Drag the EDQ Record Detail component into the required position on the page.
For the component to function you must either specify a specific Record ID or provide a dynamic ID which is picked up from the page context. The latter is achieved by specifying {!recordId} as the value in the component's properties panel.
When working with Record Lists in Experience Cloud sites and with the New and/or Edit buttons being overridden to use the EDQ component please note the following limitations:
If you intend to use EDQ components on an Experience Cloud website for either authenticated external users or unauthenticated guest users, you will need to configure additional permissions.
