Do you intend to use the EDQ Record Detail component?
Our EDQ Record Detail component works by replicating the standard Record Detail Component and enhancing address/email/phone fields with our validation technology. To do this we need to read the Page Layout of the object being displayed which requires our app to call Salesforce's Tooling API. To do so we have to use the Connected App, Auth. Provider and Named Credential combination, which is standard Salesforce practice. The following three pages will walk you through the configuration steps for this. First, we'll create the Connected App.
Go to Setup, then App Manager.
Click New Connected App in the top right.
Select the Create a Connected App option and click Continue.
Fill in the fields to the following specifications:
| Field | Specification |
| Basic Information | |
| Connected App Name | Experian LEDQ |
| API Name | Experian_LEDQ (this field will auto-populate) |
| Contact Email | Admin's email address |
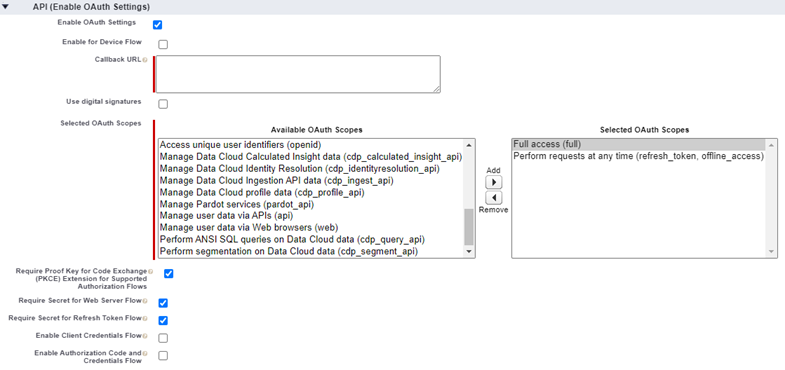
| API (Enable OAuth Settings) | |
| Enable OAuth Settings | Select this option |
| Callback URL | https://login.salesforce.com (the admin will update this later) |
| Selected OAuth Scopes | Add both "Full access (full)" and "Perform requests at any time (refresh_token, offline_access)" |
| Require Proof Key for Code Exchange (PKCE) Extension for Supported Authorization Flows | Leave selected |
| Require Secret for Web Server Flow | Leave selected |
| Require Secret for Refresh Token Flow | Leave selected |
Click Save.
Changes
Click Continue.
Make a note of the Consumer Key and the Consumer Secret found by clicking Manage Consumer Details, as you will need to use them in the next steps.
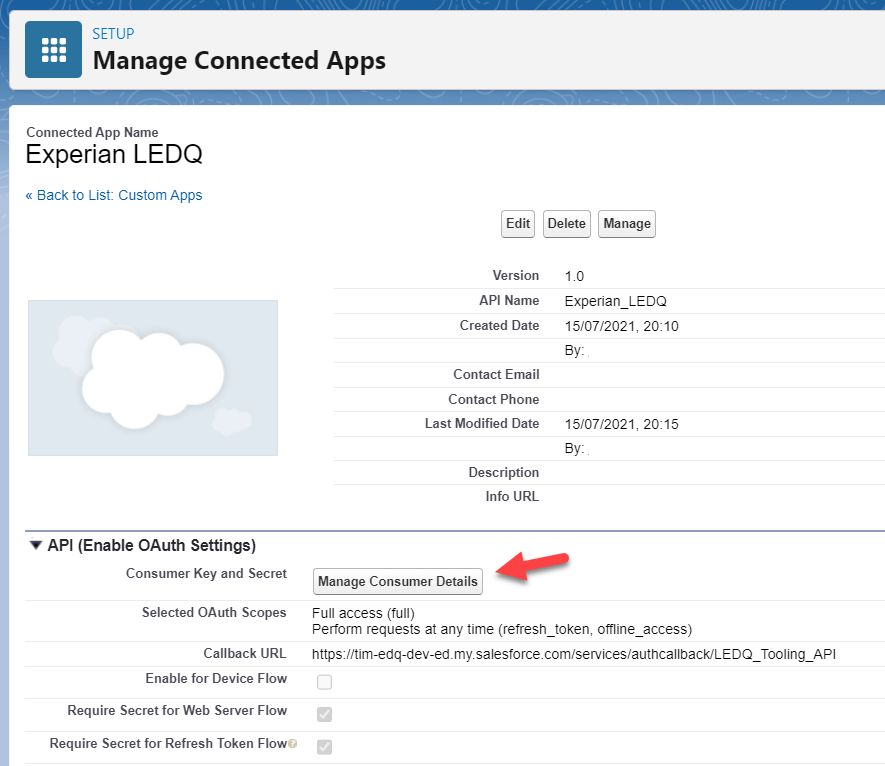
If the newly created Connected App does not appear after you click continue, follow the below steps to get your Consumer Key and Consumer Secret:
