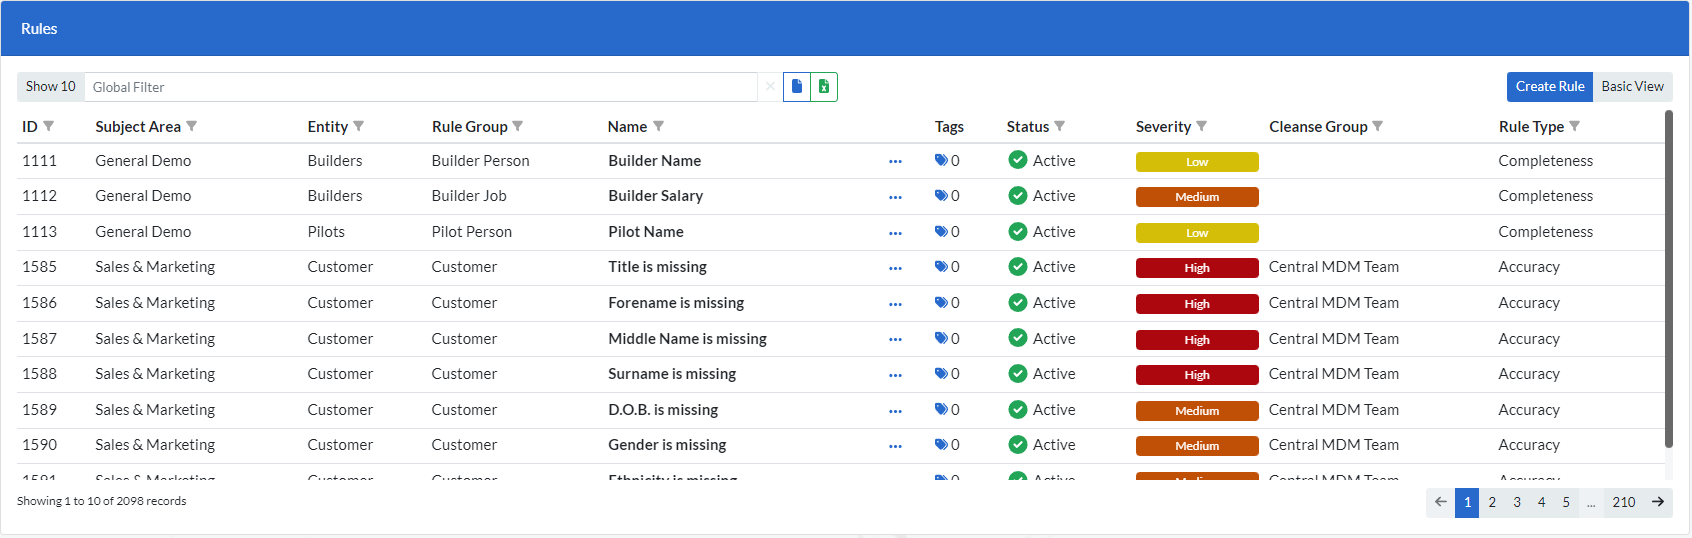
Rules are the checks that are created to identify and report specific data quality issues and are based on SQL code. To access the list of rules created so far (shown in the screen below), navigate to ( Rules > Rules ) or (Quality > Rules > Rules) in smaller screens.
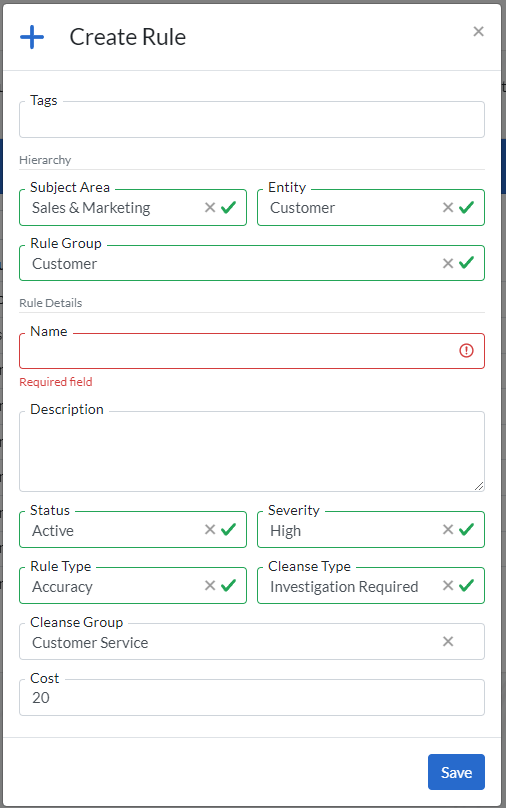
To create a new rule, click on ‘Create Rule’ and you will be prompted with the screen below
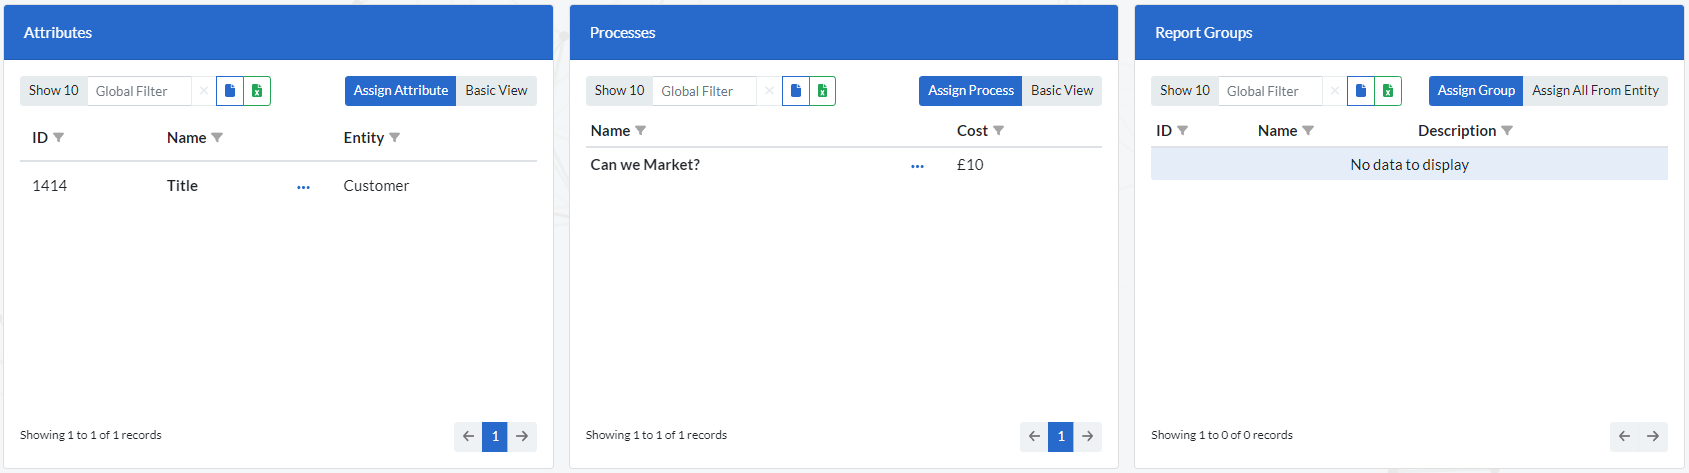
After a Rule has been created, you need to follow a few extra steps. In the Rules Window when you click on a specific rule, 4 additional windows appear below the rules window. These are the :
Therefore for every new rule you need to create at least one new implementation, attach the necessary attributes, attach the necessary processes and attach the necessary Report Groups.
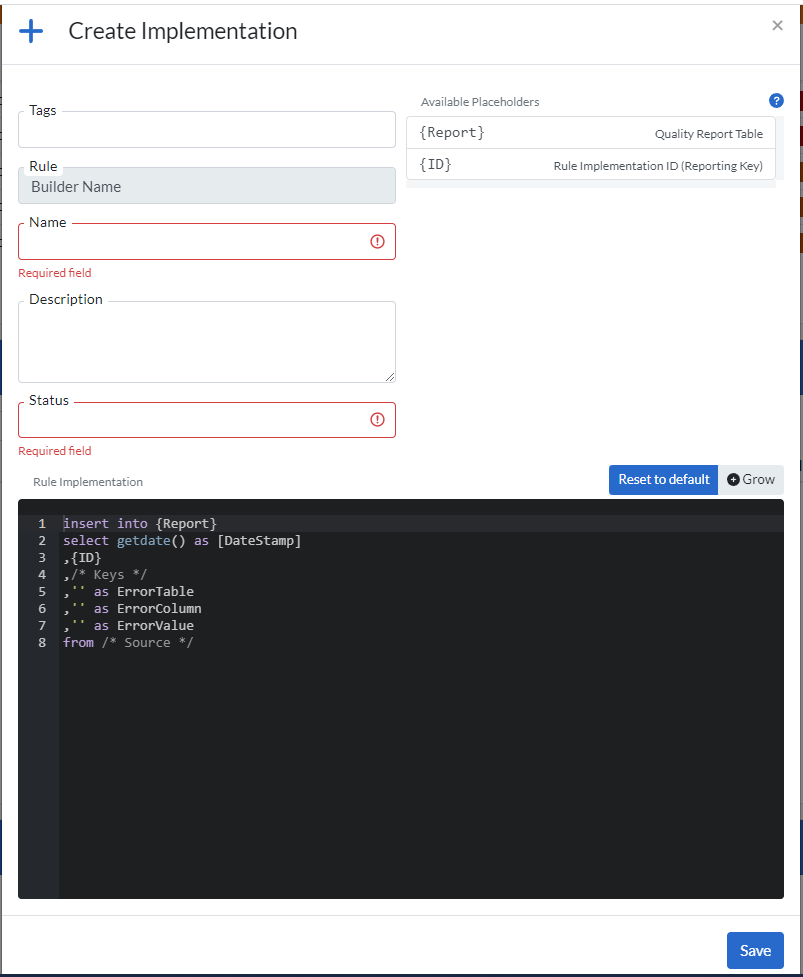
This is done in the implementations window (shown below).
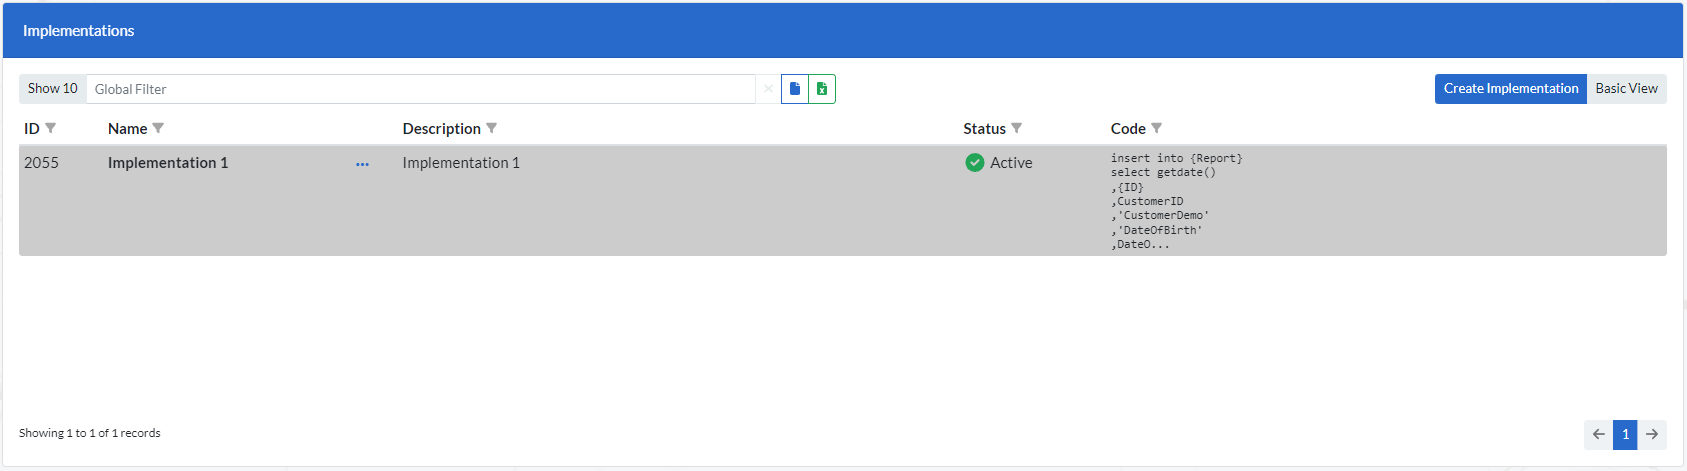
A Rule can have multiple Implementations. Typically most rules have one implementation each. Multiple implementations would be useful in the case whereby slight variations of the rule needs to be applied. For example, the same rule being applied across 2 Datasets/systems will have 2 Implementations. In this case each implementation will be analyzing a different dataset but they will be looking to identity the same data quality issue.
To Create a new Implementation simply click ‘Create Implementation’ in the ‘Implementations Window' and you will be presented with the screen below.
These are a collection of rules concerned with a particular aspect of an Entity. For Example, within a person-type record, there may be a Rule group for the validation of address. This Rule group may contain several Rules such as:
To Navigate to the Rule Groups go to (Rules > Rules) or (Quality > Rules > Rules Groups) in smaller screens.
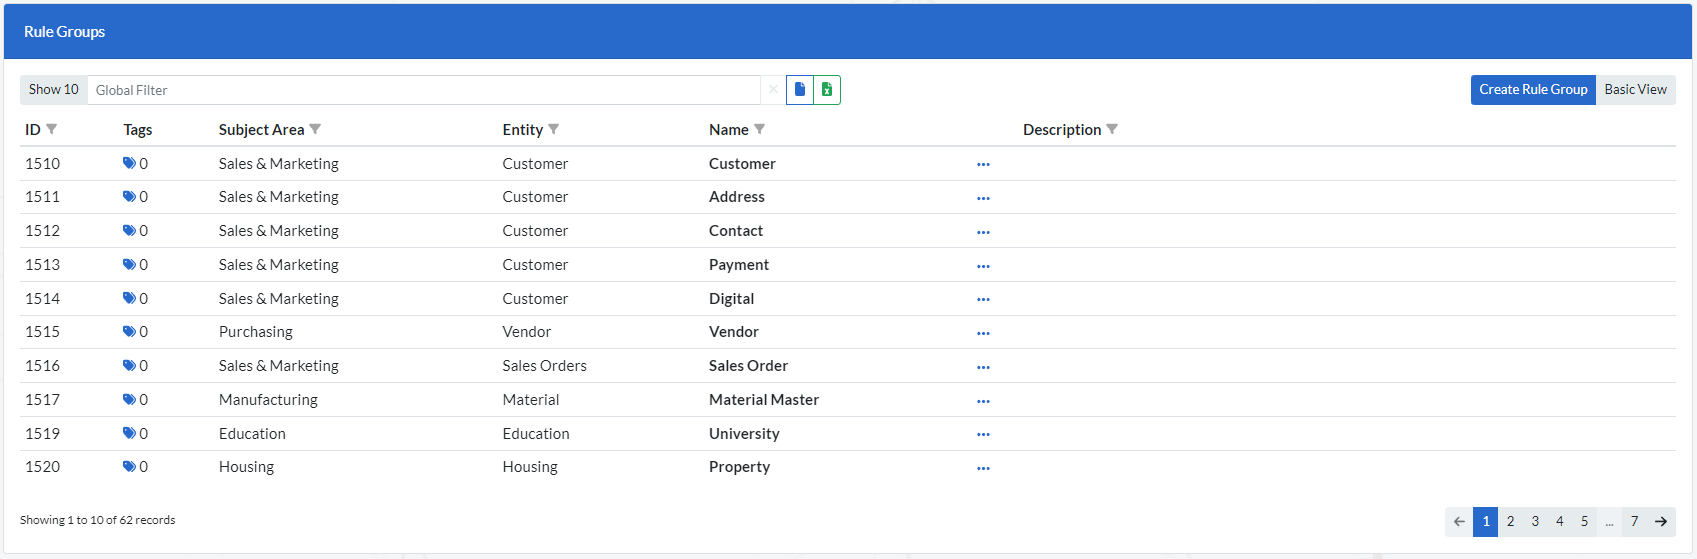
To create a new Rule Group click of the ‘Create Rule Group’ button and you will be presented with the screen below.

After a Rule Group has been created it will be available as a selection whilst creating Rules and available to attach to relevant elements.
Cleanse groups are Teams/Individuals assigned to resolve designated data quality issues.
To navigate to ‘Cleanse Groups’ go to (Quality > Rules > Cleanse Groups).
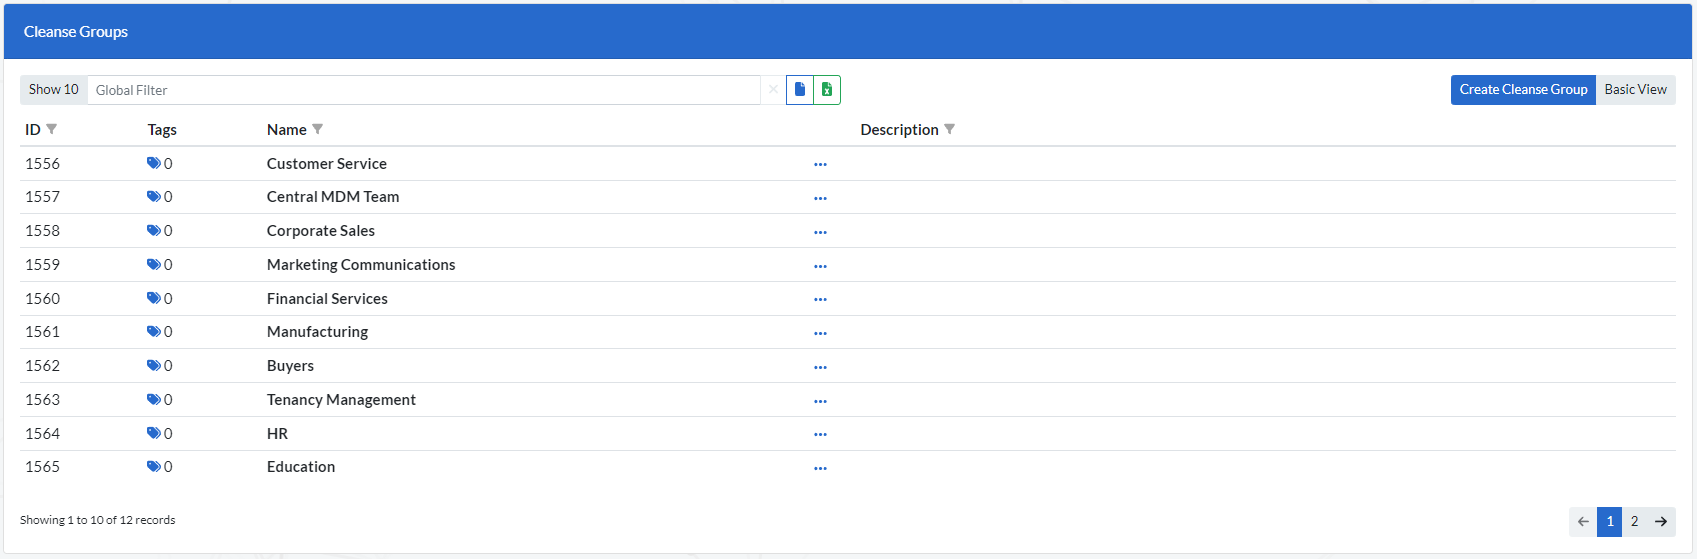
To create a new Cleanse Group simply click on the ‘Create Cleanse Group’ button and you will be presented with the screen below.
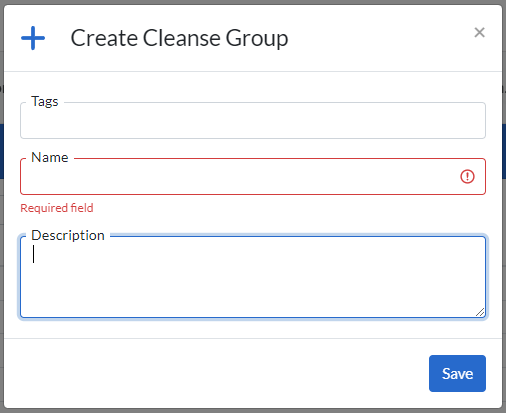
After a cleanse group has been created it will be available to be attached to relevant elements.
Severities are the subjective classification of the impact of a given Rule. They are associated with cleansing timeframes that express how quickly the organization expects the error to be cleansed. They are customizable but as a default have for levels that include:
To navigate to severities go to (Quality > Rules > Severities )
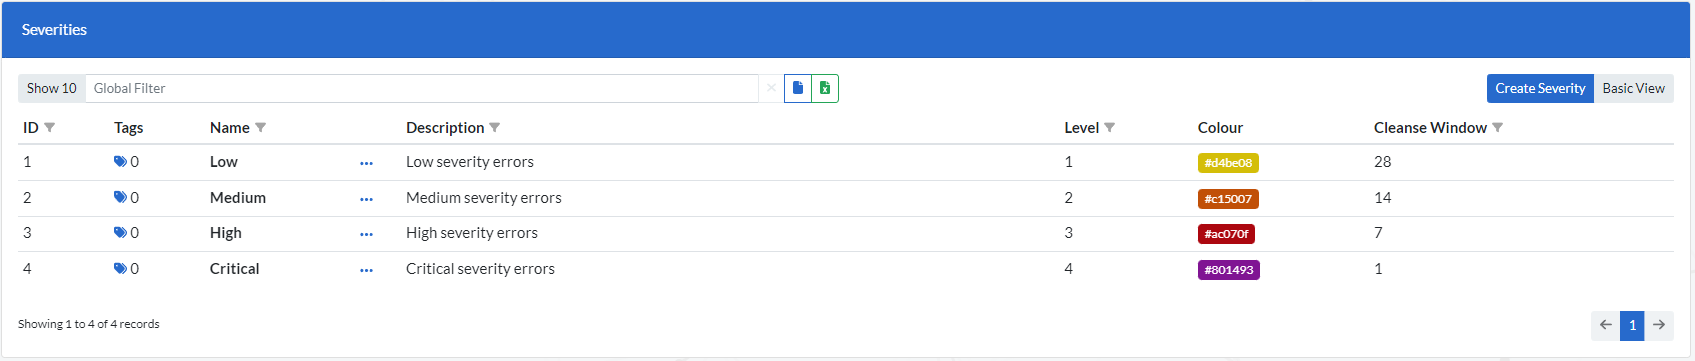
To create a new ‘Severity’ simply click on the ‘Create Severity’ button and you will be presented with the window below.
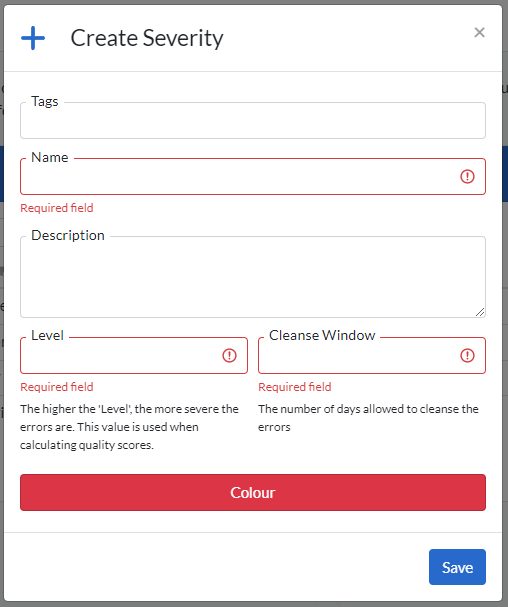
After a new Severity has been created it will be available as selection whilst creating Rules.
These are lookup references that can be used whenever necessary while creating Rules. A JOIN statement is the SQL code of the Rule is typically used to access the Value Lists.
To navigate to Value Lists go to (Quality > Rules > Value Lists).
Here you can upload, amend and delete value lists as necessary.
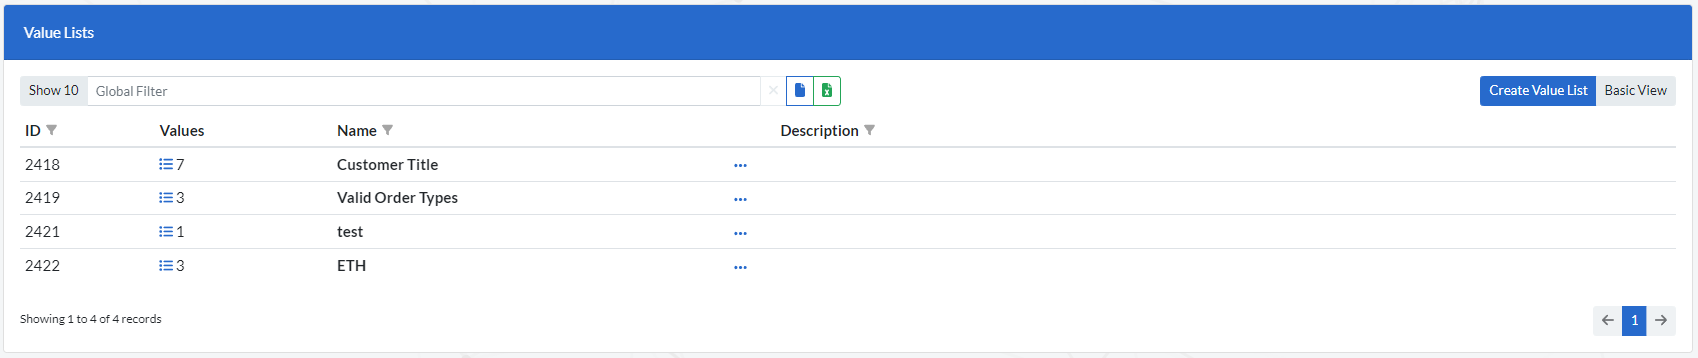
To create a new ‘Value List’ simply click on ‘Create Value List’ and you will be presented with the window below.
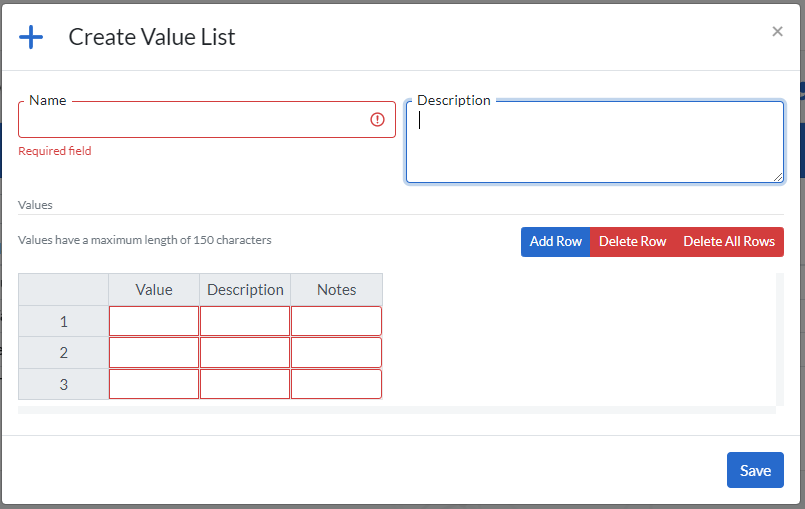
The Value Lists contain 3 columns (Value, Description, Notes) that can be populated in anyway that would best suit its purpose.
The ‘Add Row’, ‘Delete Row’ and ‘Delete All Rows’ buttons simply adds and deletes the rows on the Values list as it is displayed on the bottom left of the window.
These are elements that represent various business processes of the organization that can be attached to the Data quality Rules. Their main purpose is to provide insight into the financial impact of the data quality issues that have been identified by the Rules.
Therefore a Process is defined/created by determining the cost of a specific business processes failing due to data quality issues then attaching that Process to relevant Rules.
To Navigate to Processes go to (Quality > Rules > Processes) and you will be presented with the window below containing a list of all the Processes that have been created.

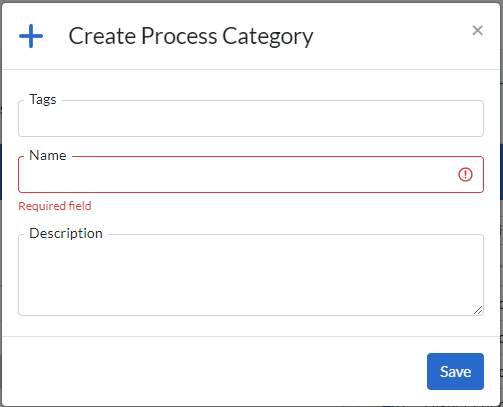
The Processes can be categorized into different ‘Process Categories’. Clicking on a specific Process Category in the Processes Category window will populate the Processes window with a list of all the associated processes.
To create a new Process category simply click on the ‘Create Category’ button on the ‘Process Categories’ window.
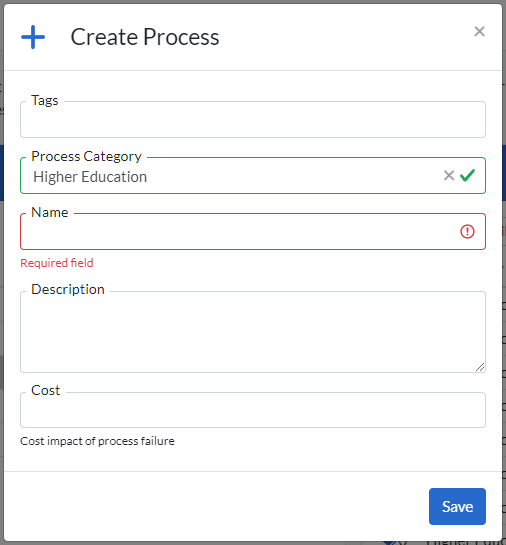
To Create a new Process simply click on the ‘Create Process’ within the ‘Processes’ window.