Activities can be created within the Aperture Governance Studio system to keep track of events, to serve as reminders and to allocate ownership to a system user.
Activities can be allocated to a Person, a Team or a Role, can be assigned a status to show the progress of the activity, and can be assigned a due date by which the activity should be completed.l
Activities work in conjunction with Aperture Governance Studio’s Workflow functionality, which will trigger a reminder for the person, team or role assigned to the activity upon creation or on a certain date, specified by the creator.
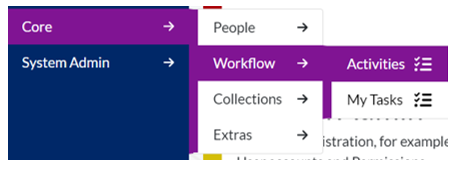
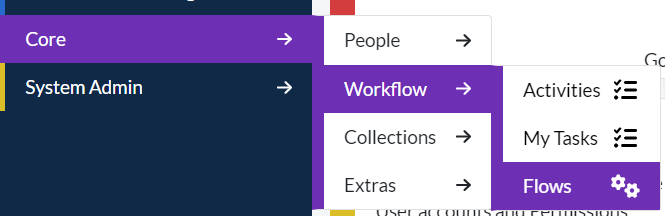
To navigate to Activities, hover over ‘Core’ in the main menu on the left hand side of the page, then Workflow, then Activities.
You will be presented with a list of the existing activities you have access to.
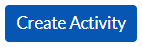
To create a new activity, click on ‘Create Activity’ in the top left-hand corner of the screen:
You will be presented with the following window:
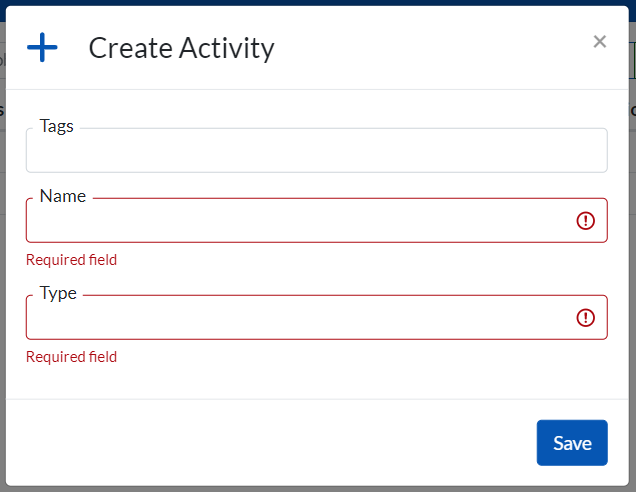
NB: fields outlined in red are mandatory, and must be populated before you can save.
Populate the ‘Name’ field with the name of your event, reminder or activity. Then choose your activity type:
Upon population of the ‘Type’ field, further fields will become available.
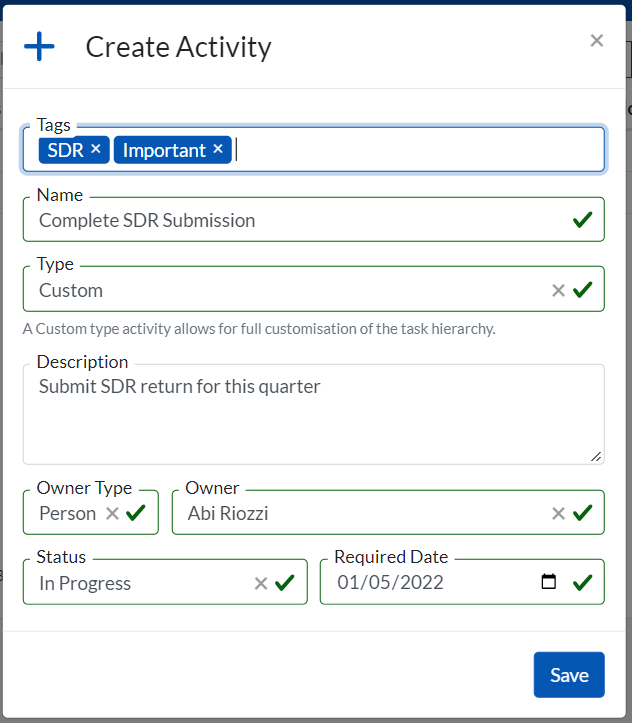
Remember to SAVE.
Once saved, the activity will appear in the list of current activities you have access to, and the person, team or role allocated to the activity will receive an email with the details of the activity, the due date, and a link to the Activities page within the software.
To edit an activity, click on the ellipse on the relevant activity, and click on ‘Edit’.
To go to the Tube Map/Navigation page, click on the ellipse on the relevant activity, and click on ‘Navigate from here’.
Workflows within the Aperture Governance Studio system are a trigger and response system which allows for actions to happen automatically when another action is triggered; for example, when a rule produces a number of errors which reaches a certain threshold*, a notification or a warning will be sent to a user(s).
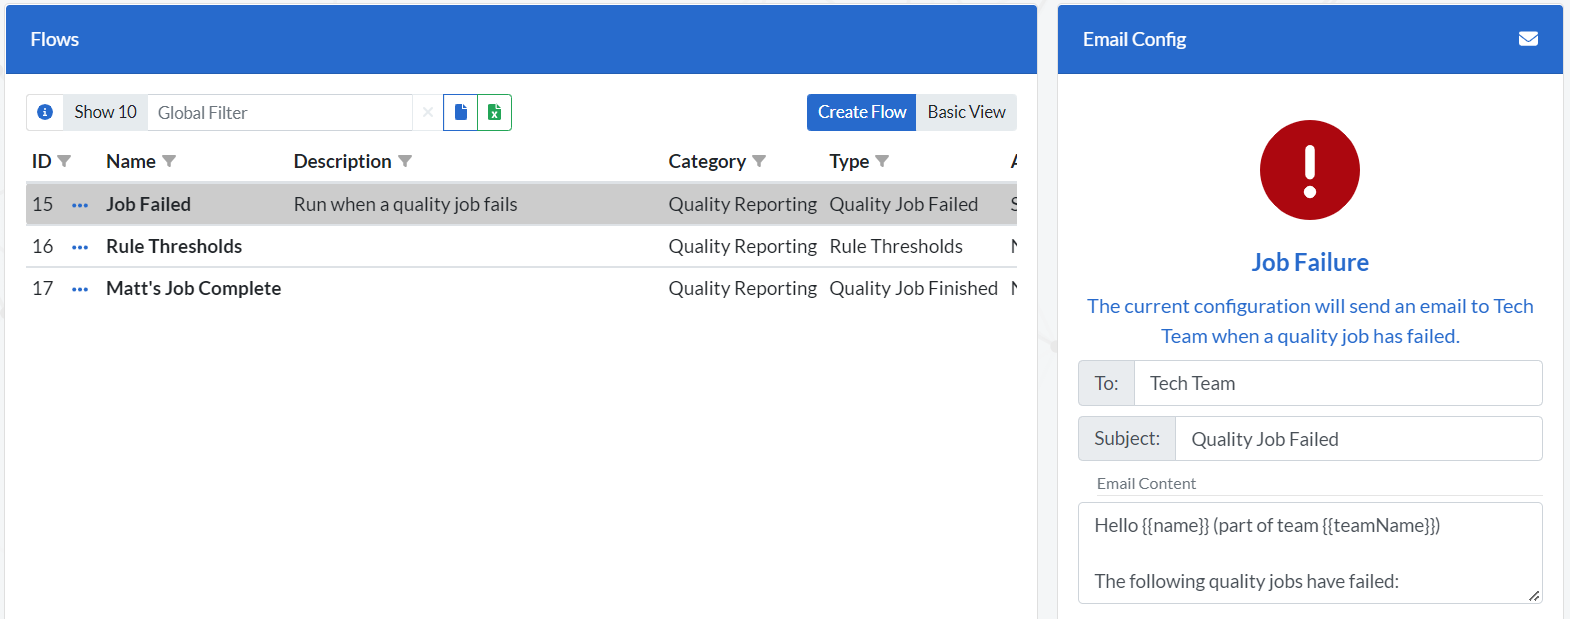
To set up or view a workflow, navigate to Core > Workflow > Flows:
A list of created flows will be presented. To view an existing flow, click on the relevant row to highlight, and the details will be presented on the right-hand side of the screen:
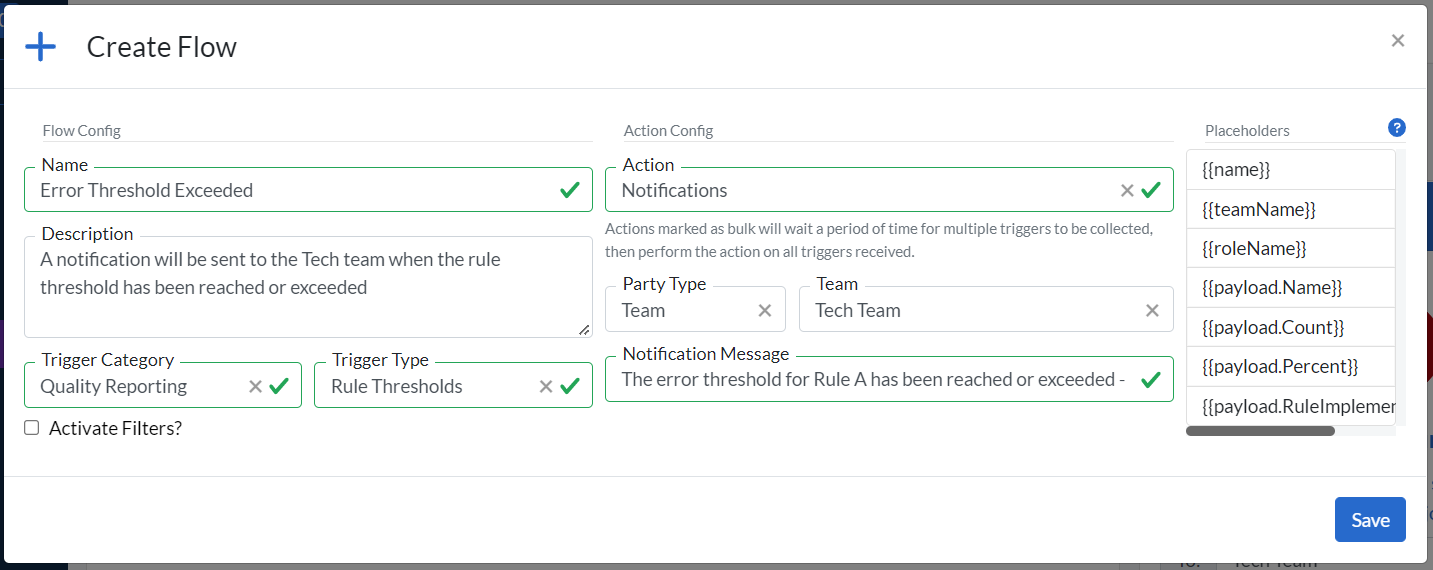
To create a new workflow, click on ‘Create Flow’ in the top right-hand corner of the ‘Flows’ window, and populate the following:
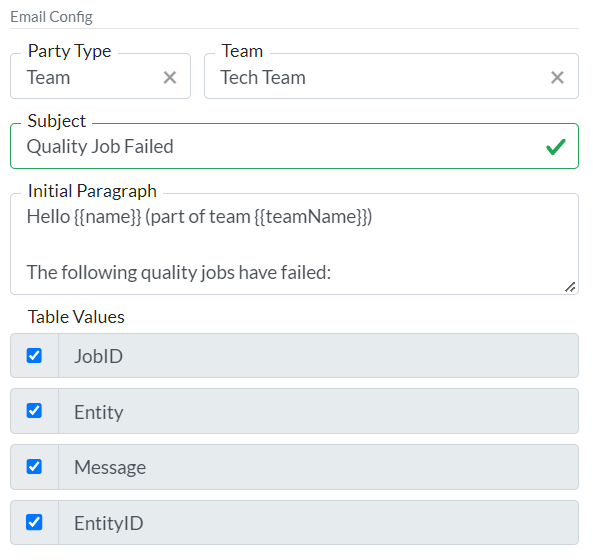
If an ‘email’ action is selected, a number of Table Values will be present at the bottom of the page; tick the boxes to select which of these should be included in the email to recipients:
*To create a rule threshold, navigate to the ‘Rules’ page and click to open and edit the relevant rule(s). At the bottom of the rule window, click to ‘Activate Thresholds’:
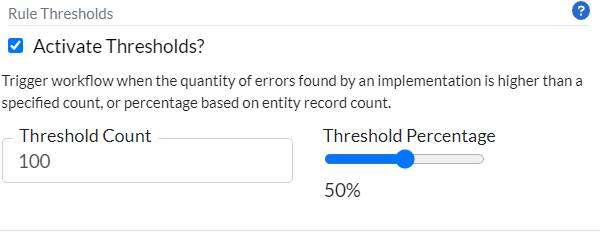
In this example, together with the accompanying workflow, a notification will be sent to recipients when the rule produces 100 or more errors, or 50% or more of the total record count within that entity has an error.
**When an Action is marked as ‘Bulk’, a specified period of time should be given to collect multiple triggers before the Action takes place. This avoids instances where multiple triggers will result in multiple actions for a single process.
The workflow options available can be added to or edited by contacting support. All configuration is created and maintained by our developers.
