To install Salesforce Commerce Cloud, you will need to:
- Open Eclipse IDE and click File > Import.
- Select the type of project from the list provided and click Next.
- Select project to import from the list provided and click Finish.
- Go to the Project Explorer tab.
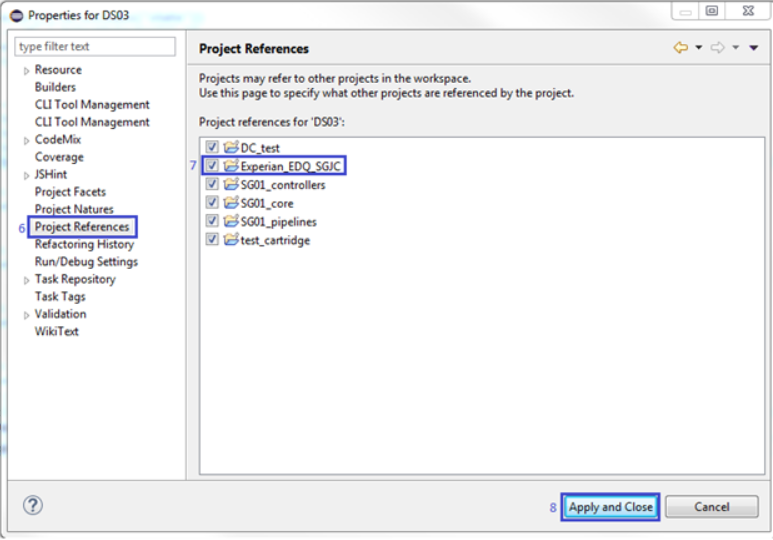
- Select the digital server and go to its properties.
- In the properties window, select the option Project Reference.
- Select the cartridge to add to the digital server.
- Click Apply and Close.
- Log in to Business Manager for your organization's instance of Saleforce Commerce Cloud.
- Go to Administration > Sites > Manage Sites.
- Look for the "site_name" and select it.
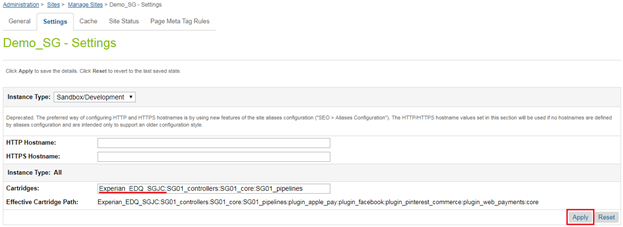
- Click on the Settings tab.
- Add the cartridge name to the Cartridges input box:
- "int_experia_sgjc" for SiteGenesis
- "int_experian_sfra" for SFRA
- Click Apply.
- Log into Business Manager and go to Administration > Site Development > Site Import & Export.
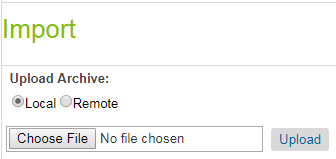
- Under Import : Upload Archive, select Local.
- Choose the "SitePreferences.zip" file and click Upload.
- Select the tile and click Import.
- Click OK at the top of the section.
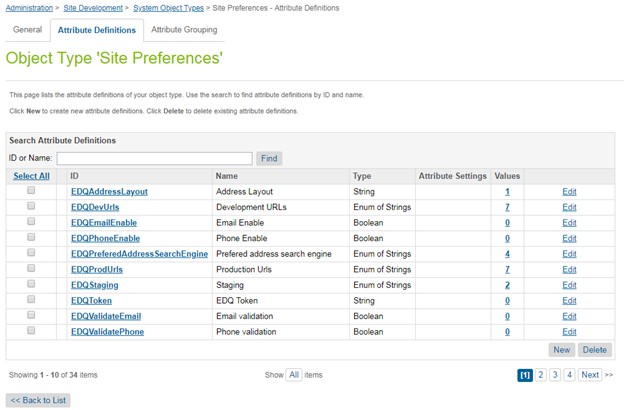
- Go to Administration > Site Development > System Object Types.
- Locate the Site Preferences option.
- Click Attribute Definitions to display all the Site Preferences needed for the EDQ cartridge.