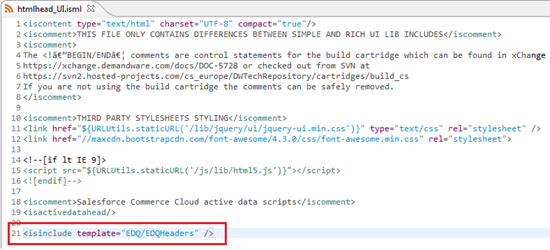
<isinclude template="EDQ/EDQHeaders" />
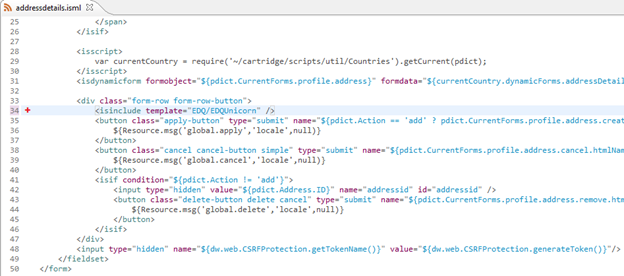
Go to int_experian_sgjc cartridge and open the template located in templates > default > account > addressbook > addressdetails.isml:
The line has been added already by us before the buttons definition in addressdetails.isml file:
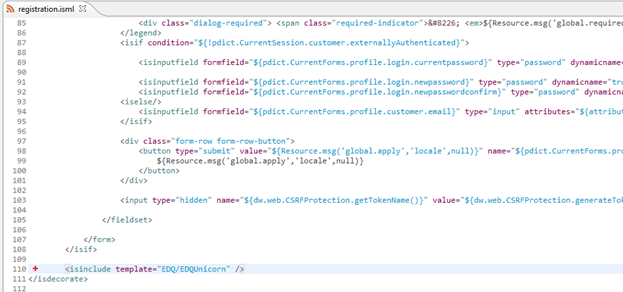
Go to int_experian_sgjc cartridge and open the template located in templates > default > account > user > registration.isml.
The
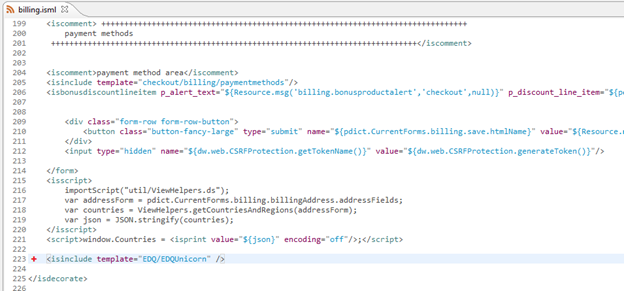
Go to int_experian_sgjc cartridge and open the template located in templates > default > checkout > billing > billing.isml.
The
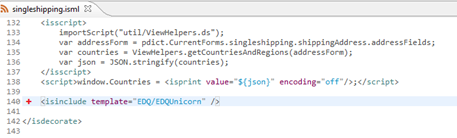
Go to int_experian_sgjc cartridge and open the template located in templates > default > checkout > shipping > singleshipping.isml.
The
<isinclude template="EDQ/EDQUnicorn" />.name with the label save to the submit button has been added alrady by us: 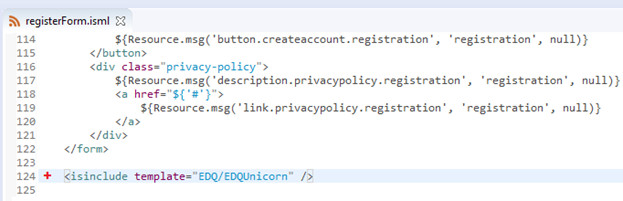
<isinclude template="EDQ/EDQUnicorn" /> has been added already by us after the submit button as shown below. name with the label save has been added already by us to the submit button: 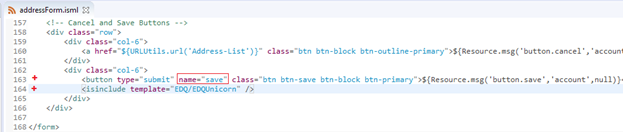

<!-- Step 1: Shipping --> section the attribute id with the label editShipping has been added already by us to the html span tag: 
<!-- Step 2: Payment and Billing--> section the attribute id with the label editPayment has been added already by us to the html span tag: 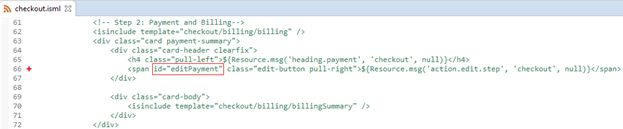
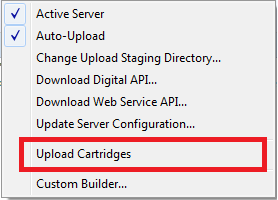
If your cloud server has the Auto-Upload option active, save all files and all new cartridges are going to be uploaded to your sandbox instance.
If you want to upload manually from Eclipse: