From Electronic Updates 2.2 onwards it's been possible to update from a previous version of the Windows client without losing the configuration of the earlier version. The Windows client won't automatically update the client even if you've selected the option to do so in the Configuration Editor.
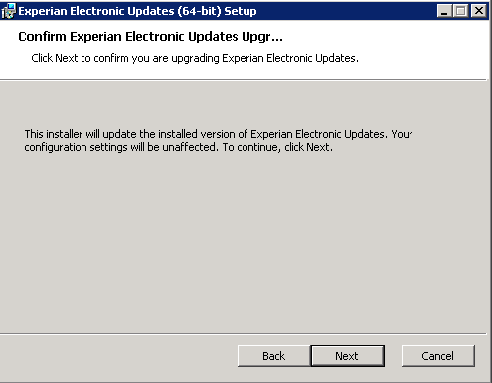
To upgrade your client to the latest version, download and run the installer. If an earlier version of the client is detected, you can step through the installer to upgrade to the latest version. Once upgraded, the previous version of the client will no longer be available.
If you require a fresh install, remove the old version of the Electronic Updates client before beginning the installation process.
Electronic Updates accounts are available for all Experian clients who are licensed for use of a particular dataset. To obtain an Electronic Updates account, contact your local Technical support team. Once the account is set up, you will receive an email with the login details (username and password).
Along with the login details, the order confirmation email will contain a link to the Electronic Updates online portal.
Once logged in, the latest software installer and your customer token can be found under the 'Automatic Updates' tab:
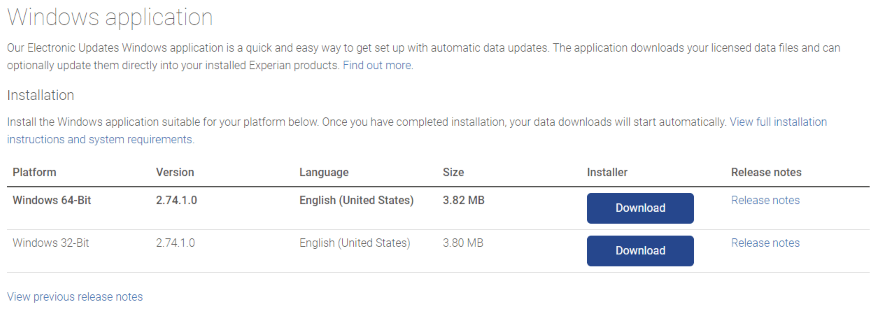
Click either the 64-bit or 32-bit Download button to start the download.
Before you proceed to upgrade your Experian Electronic Updates client, it is recommended that you create a backup of your current Electronic Updates configuration.

Rather than opening the Configuration Editor and going to Advanced > Windows Service to check if the service is running, a more robust method of achieving this would be to open the Services program services.msc from your computer and ensure that the Electronic Updates service 'Experian Electronic Updates' is set to Automatic or Automatic (Delayed Start).
