With the EDQ Page Manager library added and the Power Pages forms configured, you can return to the EDQ Configuration app in the Power Apps interface to complete the configuration.
Adding a website configuration
- Go to the Experian Data Validation Configuration Power App.
- Select the Websites page from the left menu.
- Click the + Add button at the top of the page to add a new website configuration.
- In the dialog that appears select your existing Power Pages website from the dropdown and click Add.
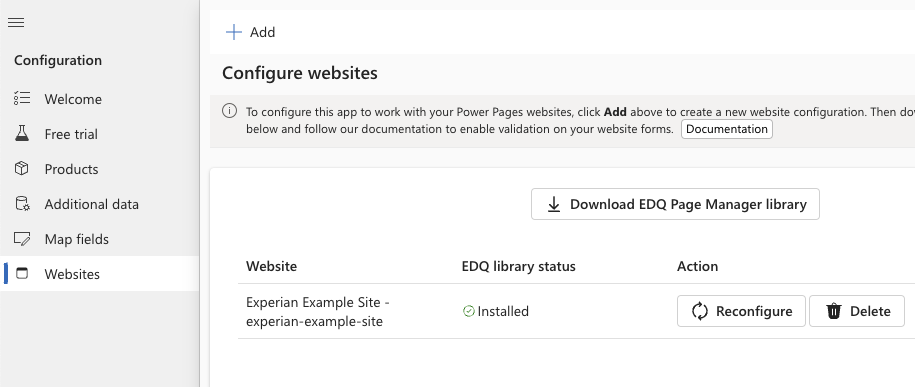
- A new configuration record is created and if the EDQ Page Manager library was correctly added to the site the EDQ library status will state Installed.
- If the EDQ library status is Not detected review the steps on the Power Page configuration page to make sure the library has been added correctly.
- Click the Configure button for the website record that has been created. It can take a little while for the app to configure all the required Power Pages Site Settings and Table Permissions before showing a confirmation.
This completes all the configuration. You can now return to Power Pages and preview the page containing the form to test the validation works as expected. Note that you may need to clear your browser cache for the style overrides to be applied.
Updating a website configuration
The website list also offers the user the option to delete the configuration and reconfigure the website again. The Reconfigure option should be used:
- When a new entity (table) is added on the Map fields page of the Configuration app with a corresponding new mapping that will be used for a form to be displayed on the website.
- If the values held in the OptionSets edq_country, edq_dataset or edq_countryphonecodes are altered.
